Manage Resources

Resources are curated educational materials that support the learning process for any course delivery method. They include documents, media files, URLs, and custom HTML pages. 

Feature Overview and Requirements 

Quick Facts About Resources

  • Generally, all open file types are accepted, but the use of some may require additional corresponding software/plug-ins to render the content when accessed by a user.
  • There is a file size limit of 360 MB for standard upload. This is an increase from the figure shown in the screen shot.
  • Resources are searchable using the Administration menu or the Navigation page Resources option.
  • They are not recommended for protected content.

Step by Step Procedure and Field Description

Search Resources – All Users

All LMS users can search available resources if they are made visible by the organization’s LMS Portal Administrator:

  1. From the Navigation menu, select Catalog Search.
  2. To find Resources, click or tap the Filter icon to open the left-side search filters.
  3. Filter by Keyword, Type, or Topic. There is a catalog type called Resource.
  4. Click Apply to execute the filter.

Manage Resources from the Resource Catalog

Portal Administrators can build a catalog of resources customized to their training needs by uploading content (e.g. PDFs, Word, Excel, MP4, WAV) to the LMS and/or providing links to objects such as websites, videos, and more. These educational materials can then be shared with the student community via the Catalog Search function and via links within specific courses.

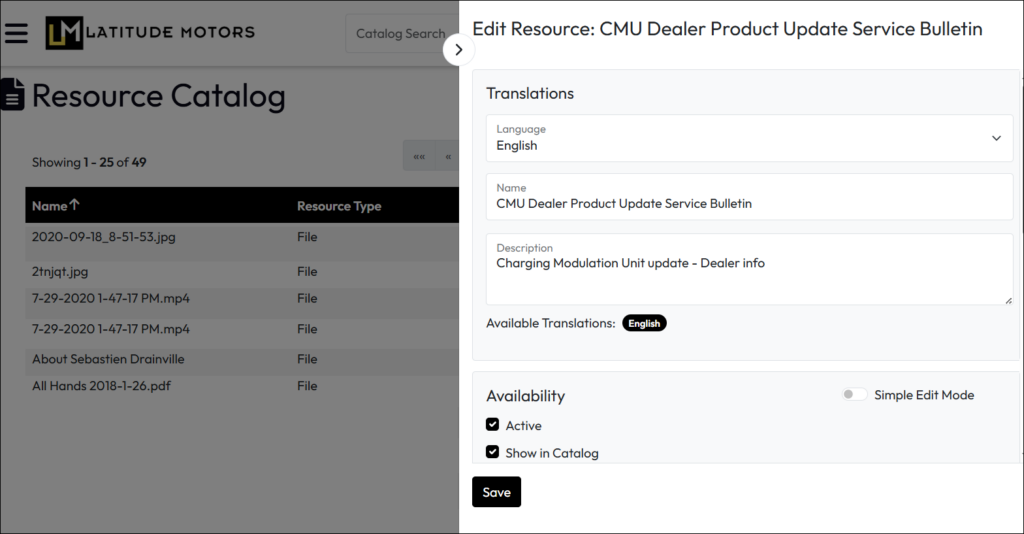
To manage Resources, from the Administration menu, select Resource Catalog. This page allows access to resource additions and maintenance of existing entries.

  1. Add Resource: Opens a slide-in to set up a new resource.
  2. Filter: For portals with long lists of resources, opens a left-side slide-in to limit the number of results returned.
  3. Action – Edit Resource: Opens a slide-in for editing the related resource.
  4. Action – Launch Resource: Depending on the resource type, will launch or download the resource.
  5. Bulk Actions: Allows all Resources to be added to the catalog at one time.

Some of these are discussed in more detail below. Letters in parentheses refer to the labeled features in the image below.

Add Resources

  1. From the Administration menu, select Resource Catalog.
  2. Select +Add Resource (A) from the Resource Catalog page.
  3. In the slide-in, use the following fields to configure the resource:
    • Language: Default is English. After creating an English version, you can change the language and enter data in another supported language, too.
    • Name: Enter the title of the Resource.
    • Description: Enter a description of the Resource, if desired.
    • Availability: Enable/Disable the Active flag and Show in Catalog flag. To provide precise Display and Hide Dates, use the Advanced Edit Mode toggle to expand date fields.
    • Resource Type: Select Link, Document, or Page.
      -Link requires a valid URL
      -Document can be any file – PDF, MS Office file, video file and more – and the maximum file size is 360MB
      -Page allows you to select from existing custom HTML pages in the LMS found under Site Management > Edit HTML.

Edit Existing Resources 

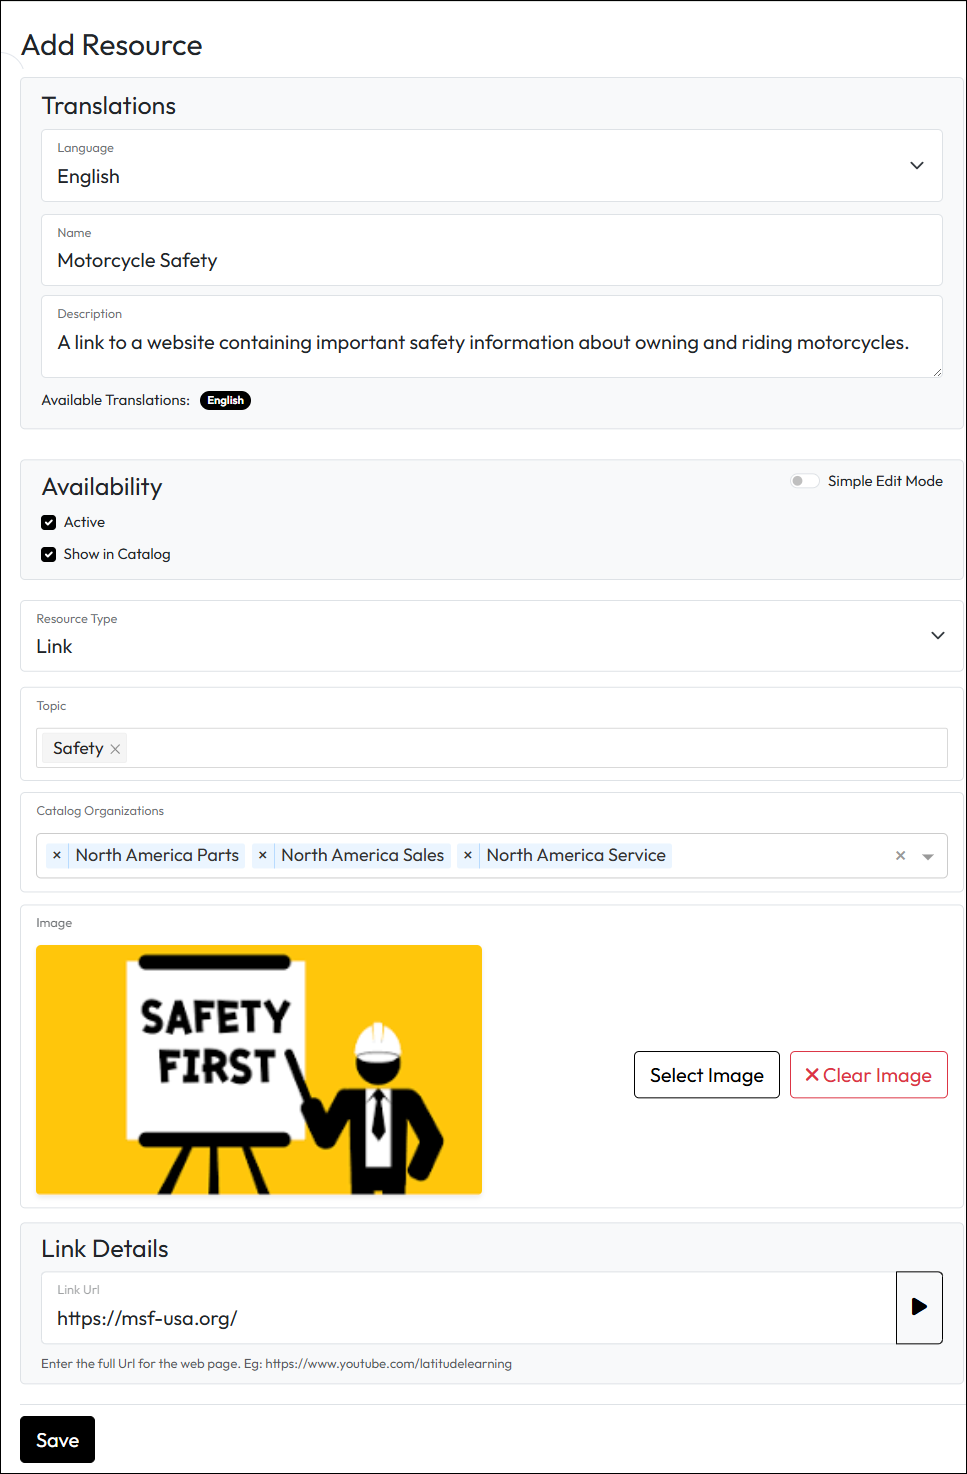
Portal Administrators can edit a resource and provide replacement content as needed.

  1. From the Administration menu, select Resource Catalog.
  2. Find or filter for the resource you want to update, then click Edit Resource  (C) from the Action column.
  3. On the slide-in, make desired changes to the Resource. Options vary with Resource Type.
    • For Document type resources, you can upload a new file over the old by selecting Replace Document then choosing a new file to upload.
    • For Links, replace the URL with a new one.
    • For Pages, select a different HTML file from the drop-down list.
  4. Click Save.

Bulk Actions – Include/Exclude Resources from the Catalog

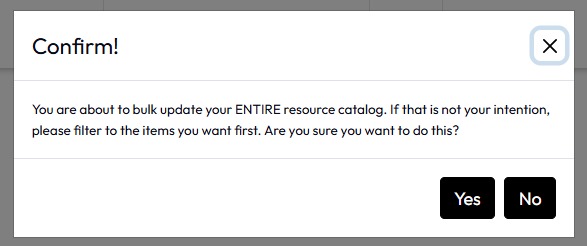
In addition to editing catalog visibility by individual resource, Portal Administrators can user filters to do so in bulk. Bulk Actions (E) works on the list of resources in the current view. 

  1. From the Administration menu, select Resource Catalog.
  2. Next, Filter (B) to find the list of resources you want to apply the action to. If selecting all, skip the Filtering step.
  3. When ready, select Bulk Actions (E)
  4. In the resulting drop-down, then select either:
    Show in Catalog: include the selected list of resources in the catalog, available to users.
    Hide from Catalog: exclude the selected list of resources from the catalog, hidden from users unless they have access to the resource on a course.

  5. Confirm or cancel the change by clicking Yes or No on the Confirm! popup.