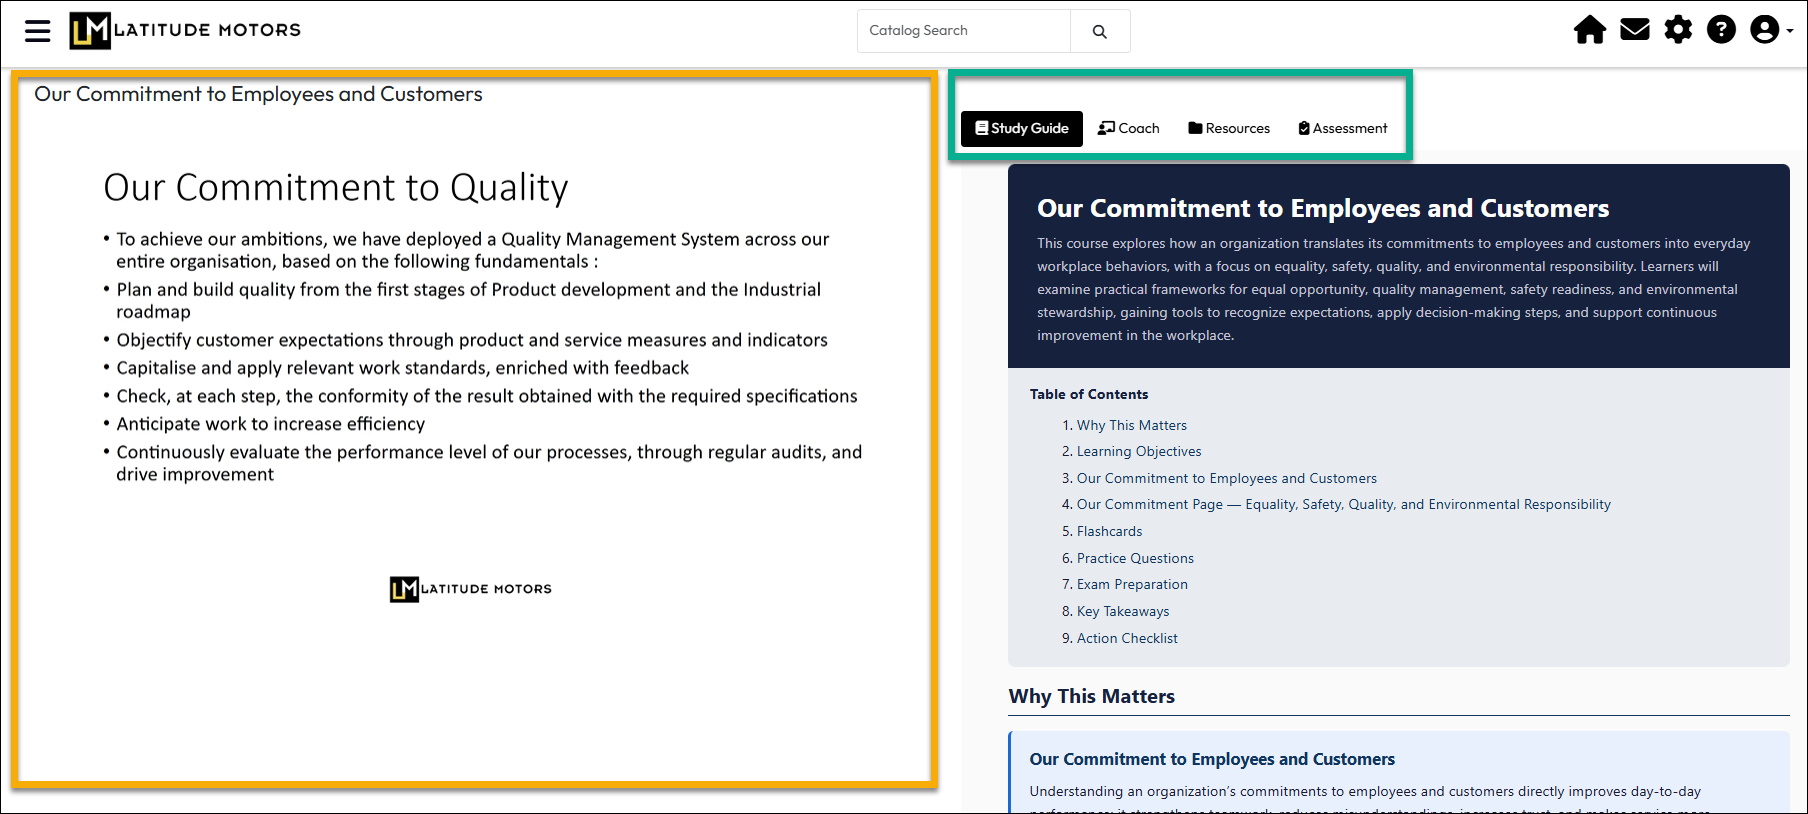
The AI Tools tab is a content generation feature currently available for courses using the Self-Study delivery method. It provides portal administrators with an option to create an indexed body of source materials about the course based on selected resources, then generate an AI-based, editable content for the course which can include a Study Guide (with overviews, learning objectives, flash cards, etc), AI assessments (for use in self-study completion verification), and an in-course AI chat-based coach.
The generated AI tools are fully editable and administrators can determine whether or not they appear in the course window when a student launches a self-study course.
These are optional tools that can help make Self-study courses more robust and engaging for learners.
To use the AI Tools features for a Self-Study course, there are three primary areas you will need to manage:
This is also a great way to generate launchable content for a self-study if you do not already have a primary resource like a video or PDF to start with. If you have resources that comprise the content you would like to be primary, you can build and generate AI content using those resources. The AI tools themselves become resources and you can return to the course’s General tab and add one of the newly generated objects as the primary content to be launched with the course.
Note
When you generate AI content, it is associated with the same business units shown on the course. If you update the course organizations at a later time, the AI tools will also be updated to stay synchronized to the correct organizations.

To get started with AI tools, you first need to create a course using a Self-Study delivery method. The details of setting up a Self-Study course are found on the Add a Self-Study Course support page. This document goes into more detail about the options found on the Self-Study course’s AI Tools tab, which displays upon saving the new course.
Once a Self-Study course exists, you can set up AI tools, as desired.
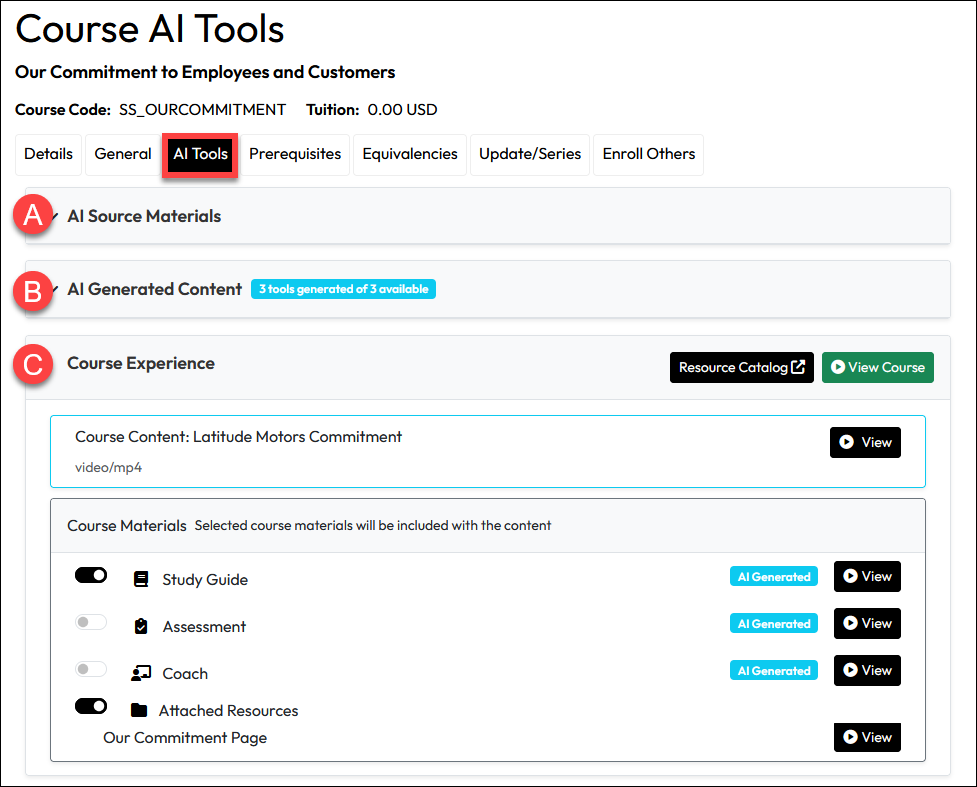
Before you can generate an AI Study Guide, you must first select the AI Source Materials which form the body of information that the Study Guide generation can be based on. You can include resources associated with the course, as well as other active resources from the Resource Catalog that are not tied to the Self-Study course in any manner.
The Resource Types available for inclusion in the study guide are Files, Pages, and Links. This means you can include resources for .pdf files, MS Office documents, spreadsheets, and presentations, images, videos, and custom HTML pages you have built into the LMS. They must be created as resources in order to be selected and indexed. Resources that are links can be indexed, but the indexing only includes the HTML content on the page, not on-page videos, images, or additional links out from that page. If you have links to videos in YouTube or Vimeo, you will need to save them to a video file format and make file-based resources for them.
To Add AI Source Materials:
No indexing takes place until you begin to generate the actual content.
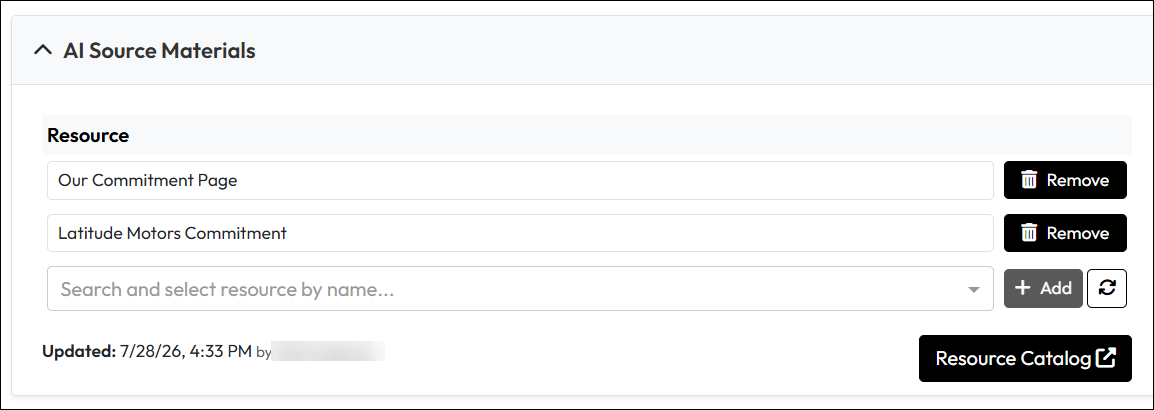
The indexing of the source materials takes place during the generation of the AI content type, except for the Coach.
The indexing process, depending on the number and size of the selected resources, can take a long time. It is okay to leave the page and continue doing other work, while periodically checking back to review the status.
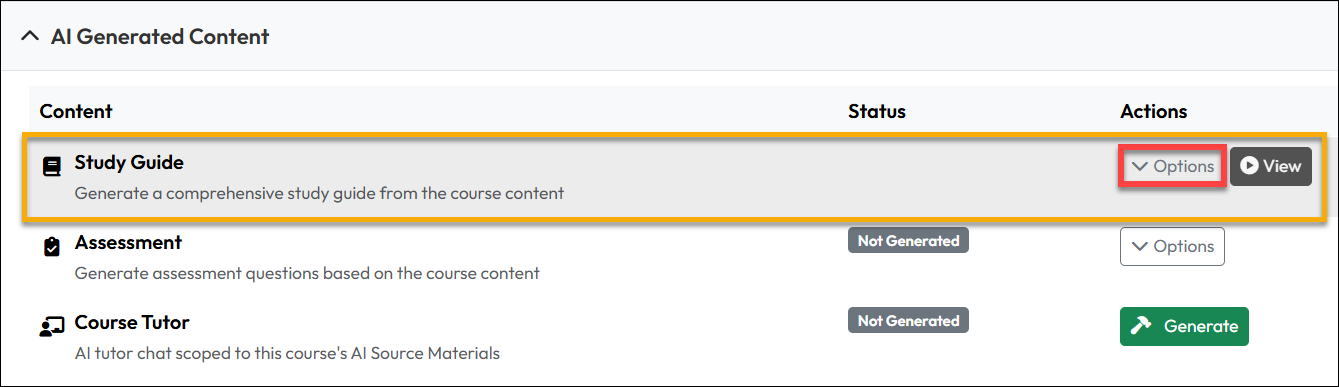
The AI-Generated Content section is empty until you select the AI Source Materials. With Source Materials in place, you will be able to index/generate your first AI Study Guide for the course. This is how it looks prior to generation:
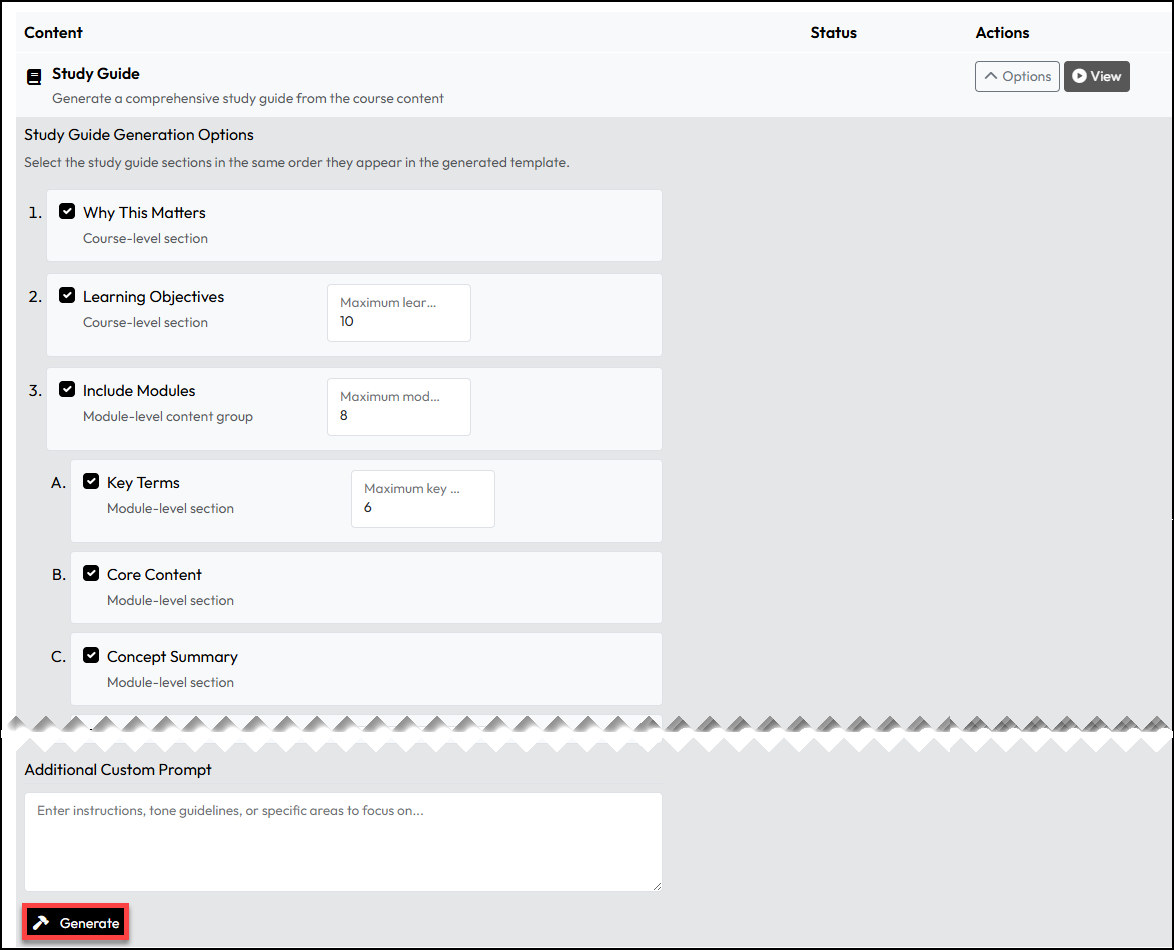
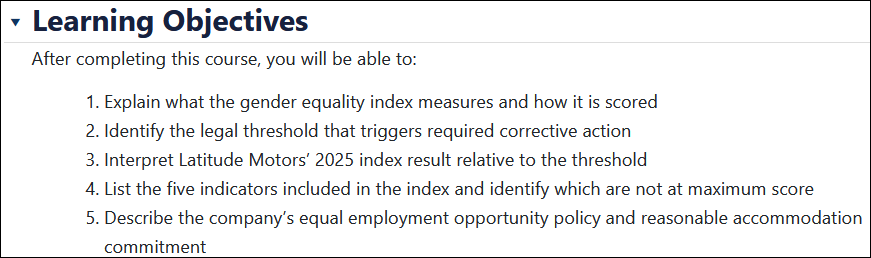
Generates a section about why the content is important. Uncheck to disable.
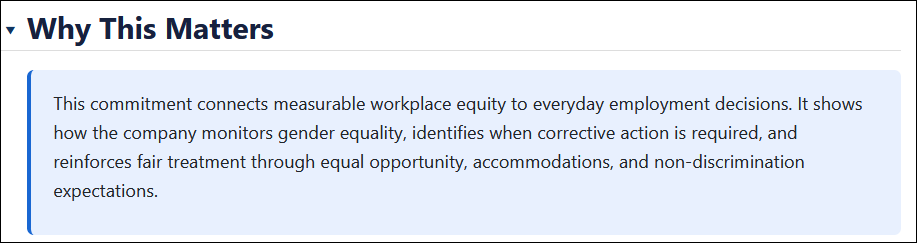
Generates learning objectives for the course. Set the maximum number of learning objectives or uncheck to disable. You can override the default shown.
Modules generate to organize the guide into meaningful chunks. They have a number of sub-sections that can be configured. You can uncheck this to disable all module content or manage it by module-level subsections which would then be included in all modules.
Terminology and definitions used in the content. Toggle on/off and set the Maximum Number of Key Terms.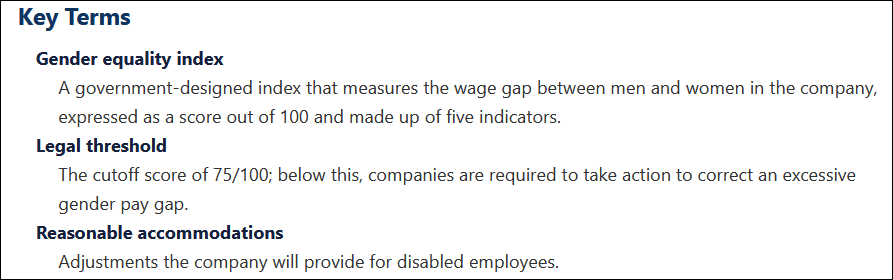
The actual learning content derived from the source materials. Toggle on/off.
Summarizes the key points of the module. Toggle on/off
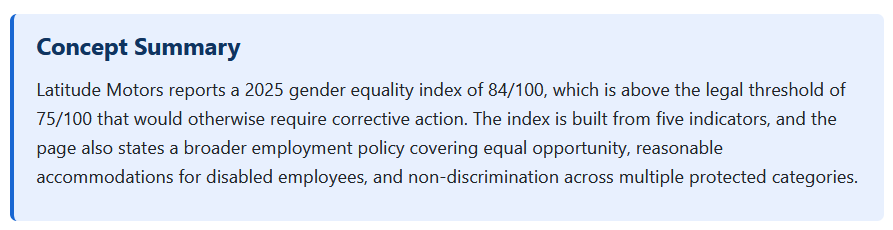
Offers potential situations and how the content is relevant. Toggle on/off and set the Maximum Number of Practical Examples.
Infers possible mistakes or items people might overlook based on the source materials. Toggle on/off and set the Maximum Number of Common Mistakes.

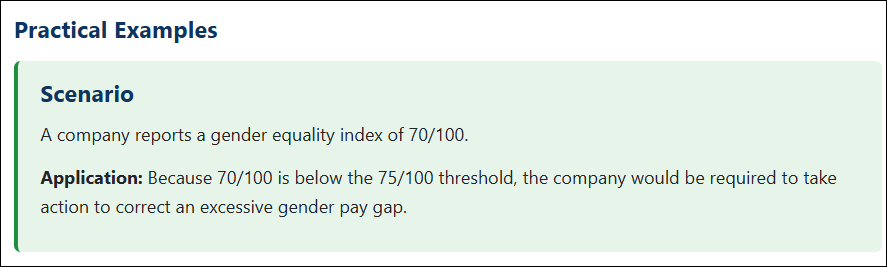
Offers options the student can take to use the content in a practical way during the lesson or after. Toggle on/off and set the Maximum Number of Do This Now entries.
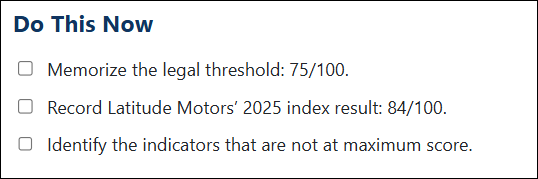
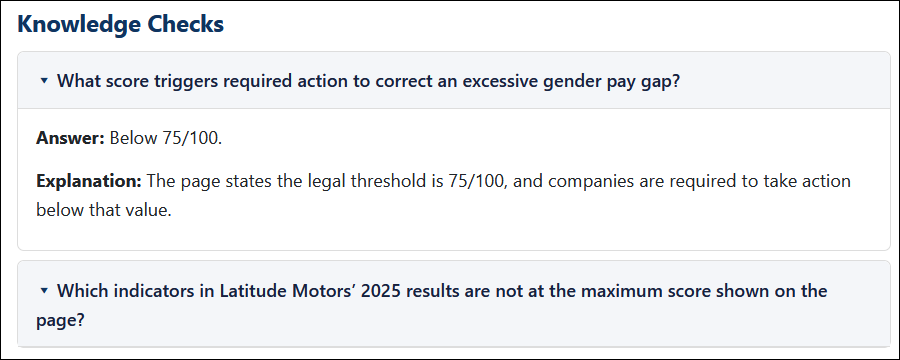
Generates unscored questions the student can use to assess comprehension of the material. Toggle on/off and set the Maximum Number of Questions asked.
Lists teaching points based on the content. Toggle on/off and set the Maximum Number of Highlights.

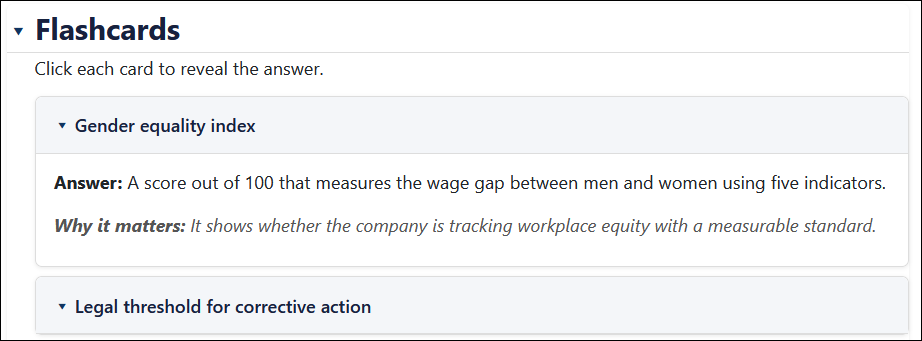
Lists statements and toggles to open the answer and an explanation of why it matters. Toggle on/off and set the Maximum Number of Flashcards.
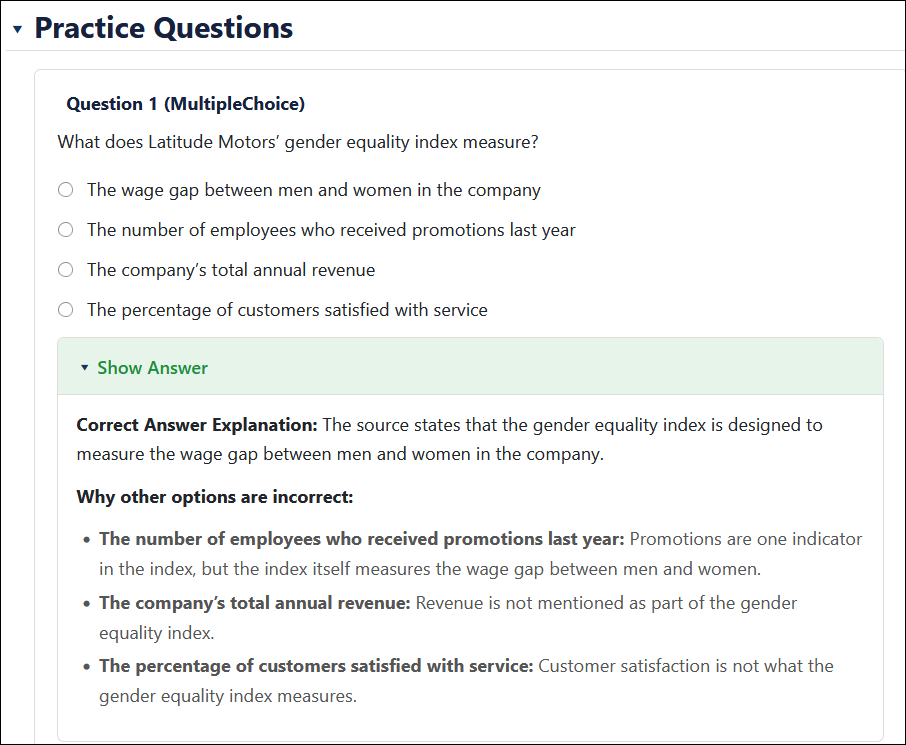
Provides a list of quiz-like questions but does not score. Toggle on/off and set the Maximum Number of Questions.
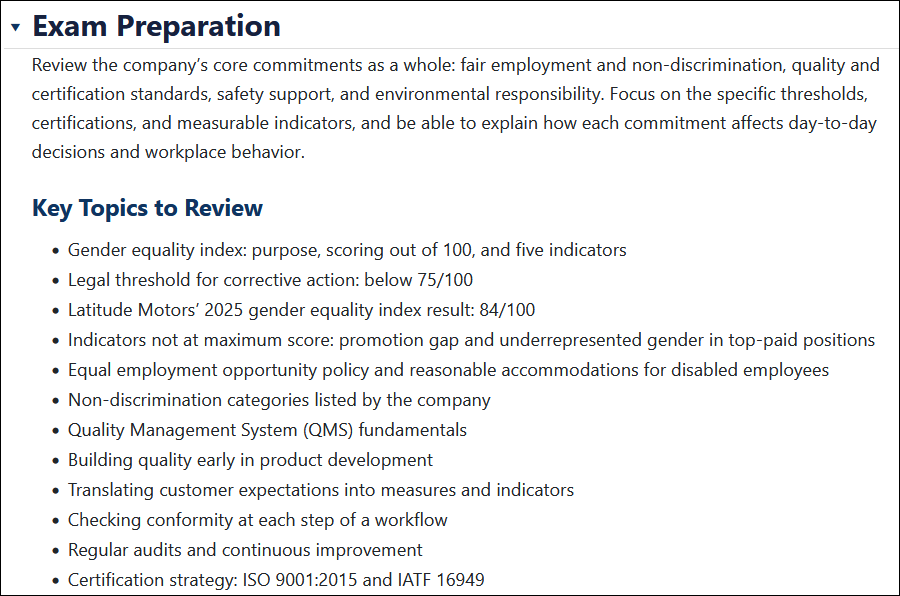
Provides additional support to help pass any assessments or quizzes. Toggle on/off.
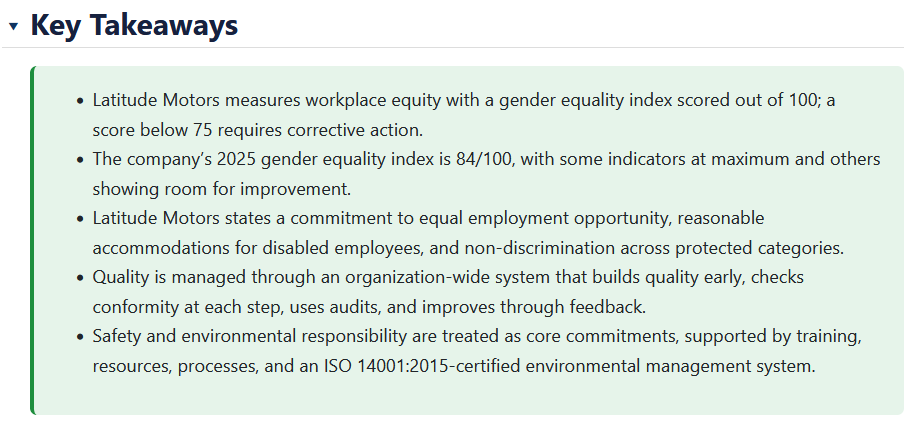
List of the key points to take away at the end of the course. Toggle on/off and set the Maximum Number of Key Takeaways.
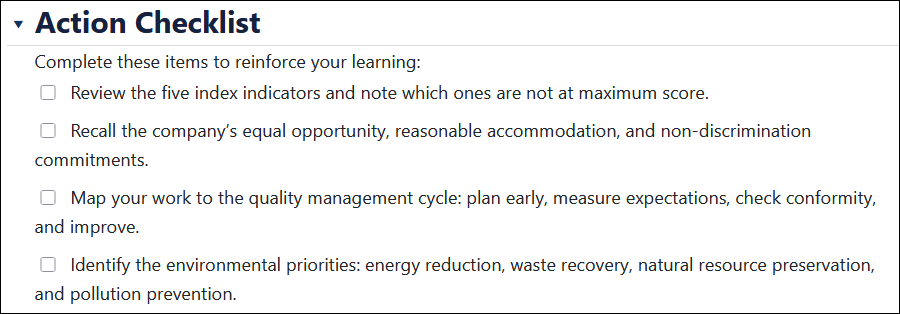
Generates a list of possible actions to take after completing the course. Toggle on /off.
A free text field in which you can enter instructions to further instruct the generative AI in developing the guide, such as tone guidelines, specific areas to focus on or mention, or other prompts.
It can be anything – and remember – it is may not interpret your prompts perfectly on the first attempt. You may need to revise your instructions and re-generate to fine tune the results.


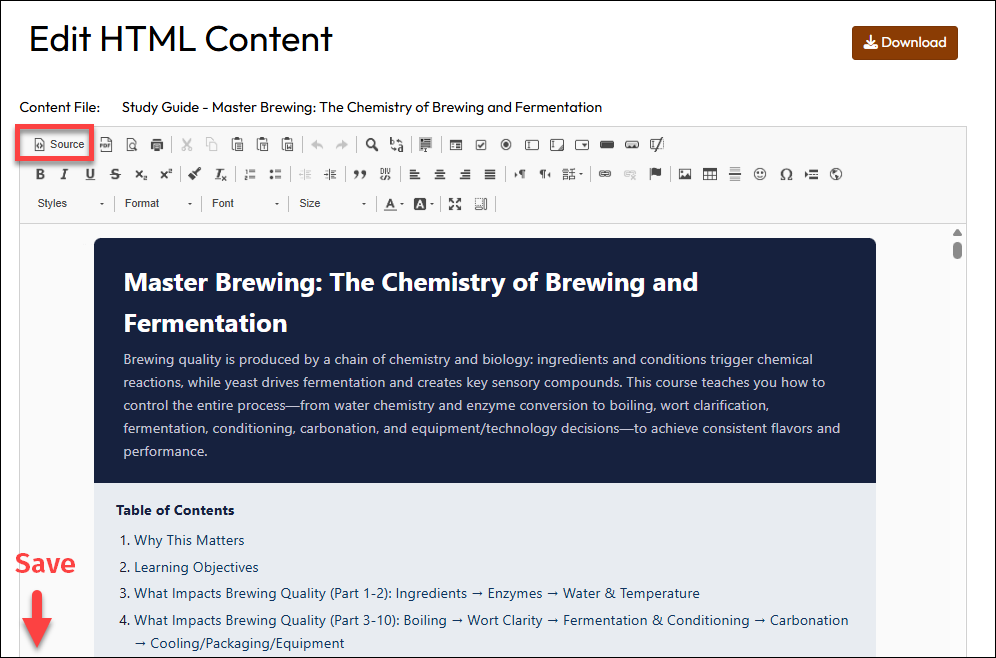
Upon return to the AI Tools page, you will see the Study Guide labeled as Edited.
Warning: Any regeneration of the Study Guide will overwrite prior modifications and they will need to be re-created. The Study Guide will not appear in the Resource Library as a resource. Any edits must take place from the AI tools on the self-study course.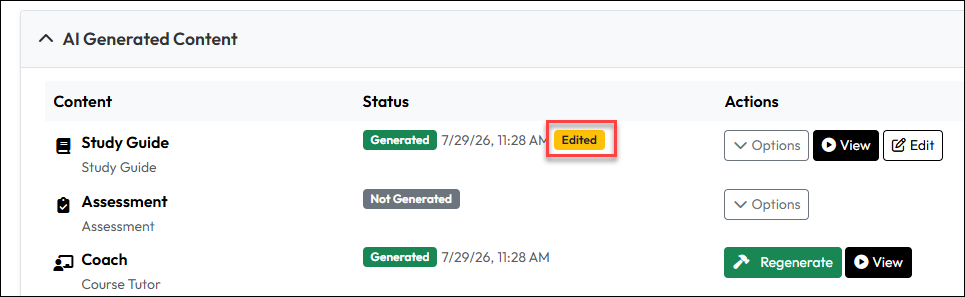
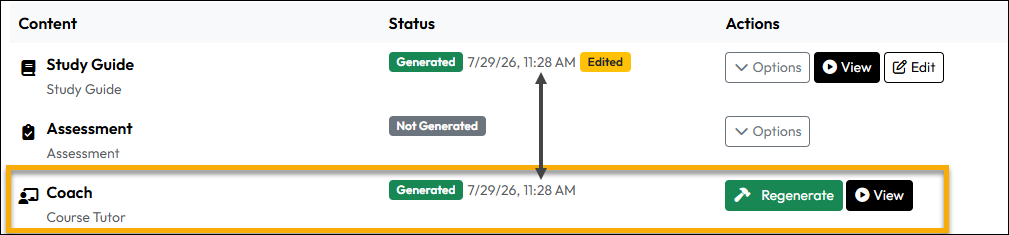
The AI Coach “chatbot” will automatically generate upon successful generation of an AI Study Guide or AI Assessment. This is a dedicated learning coach for a specific course and operates in a similar manner as the portal-wide Learning Assistant chatbot.
To view the Coach and test chatting with it, click View.
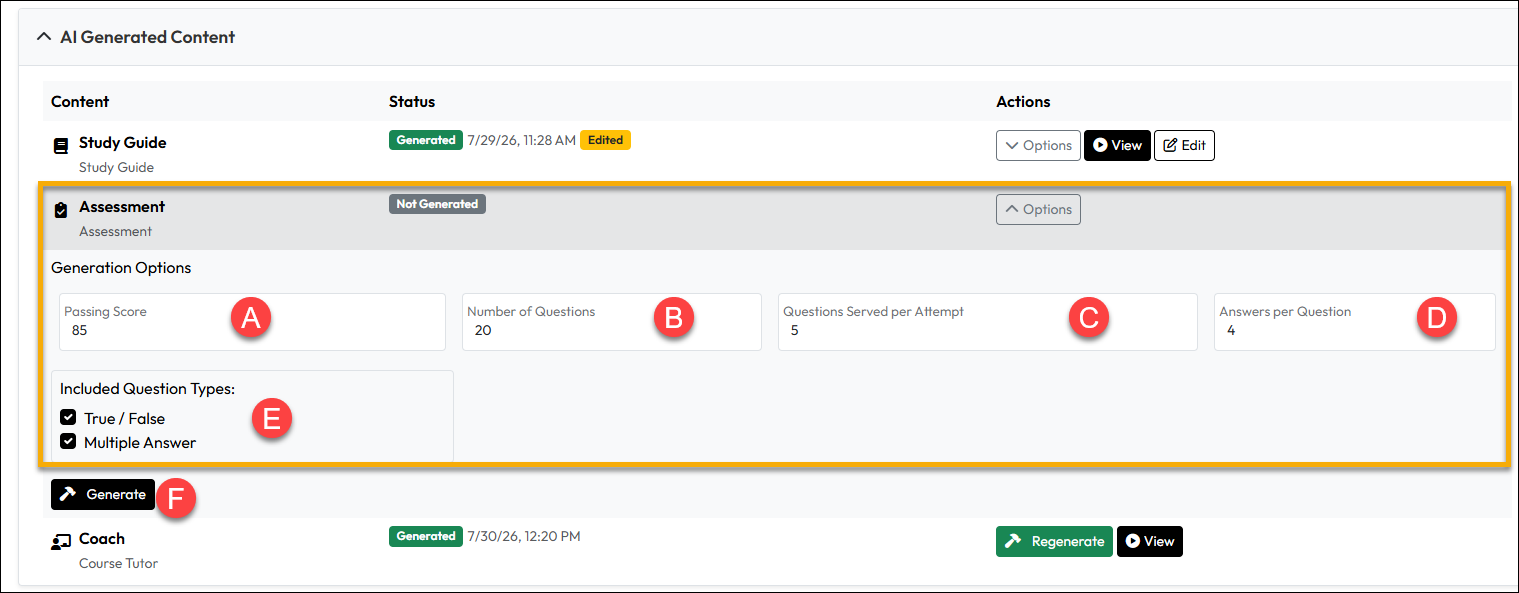
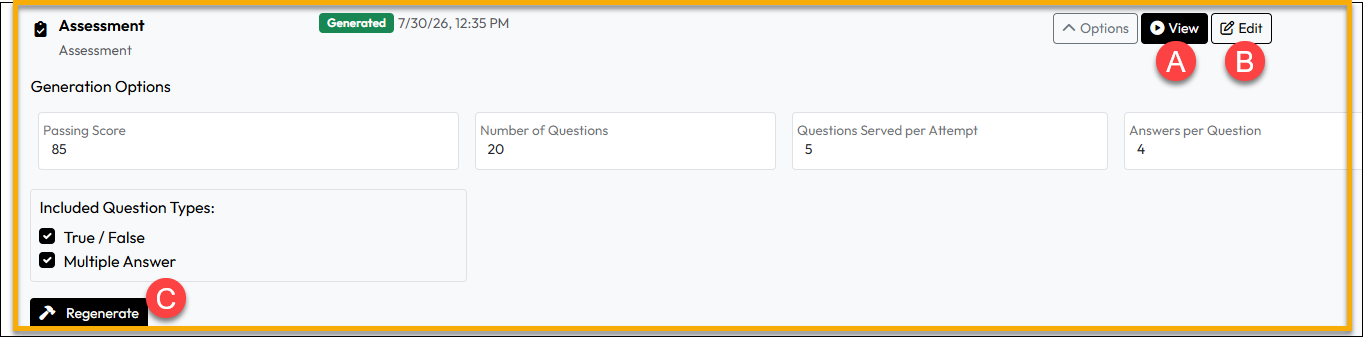
The AI Assessment can be indexed and generated after successful adding the AI Source Materials. Prior to generation, you must determine the scoring and other parameters around the assessment. Like Study Guide, indexing takes place at the beginning of the request to Generate or Regenerate the assessment.
Key Notes about the AI Assessment:
To Configure the Assessment
When your AI Study Guide is finalized, you can determine how everything will appear to your learners after they enroll in and launch the Self-Study content. The options in this section are:
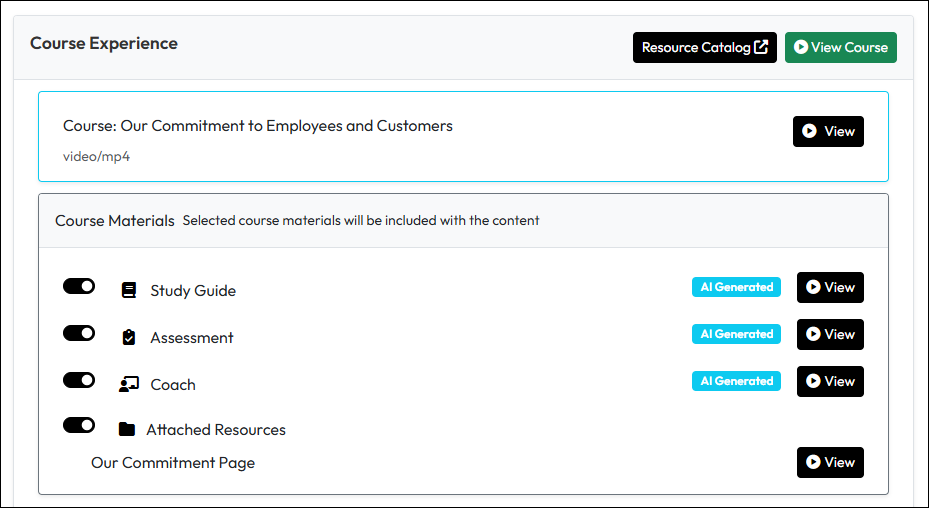
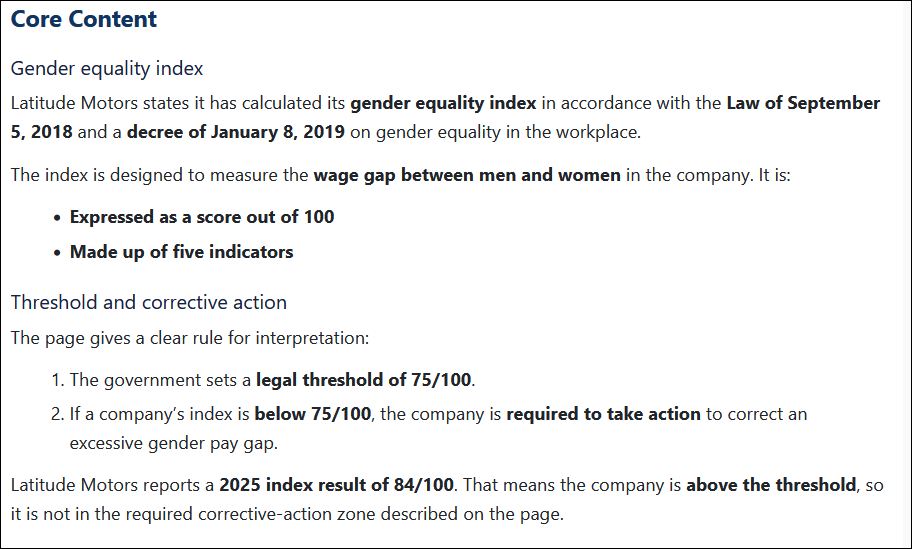
When your course with the AI content is ready for learners and they enroll, this is an example of their view upon course launch for a course with the main Resource set to launch a PDF file with attached resources and the AI-generated learning objects enabled for the course experience.